Skip to content

Three hours. Here's how to spend them.

Capri's hire area runs from Gladesville Bridge to Bradleys Head and Point Piper — the Bridge, the Opera House and Kirribilli House are all inside it.

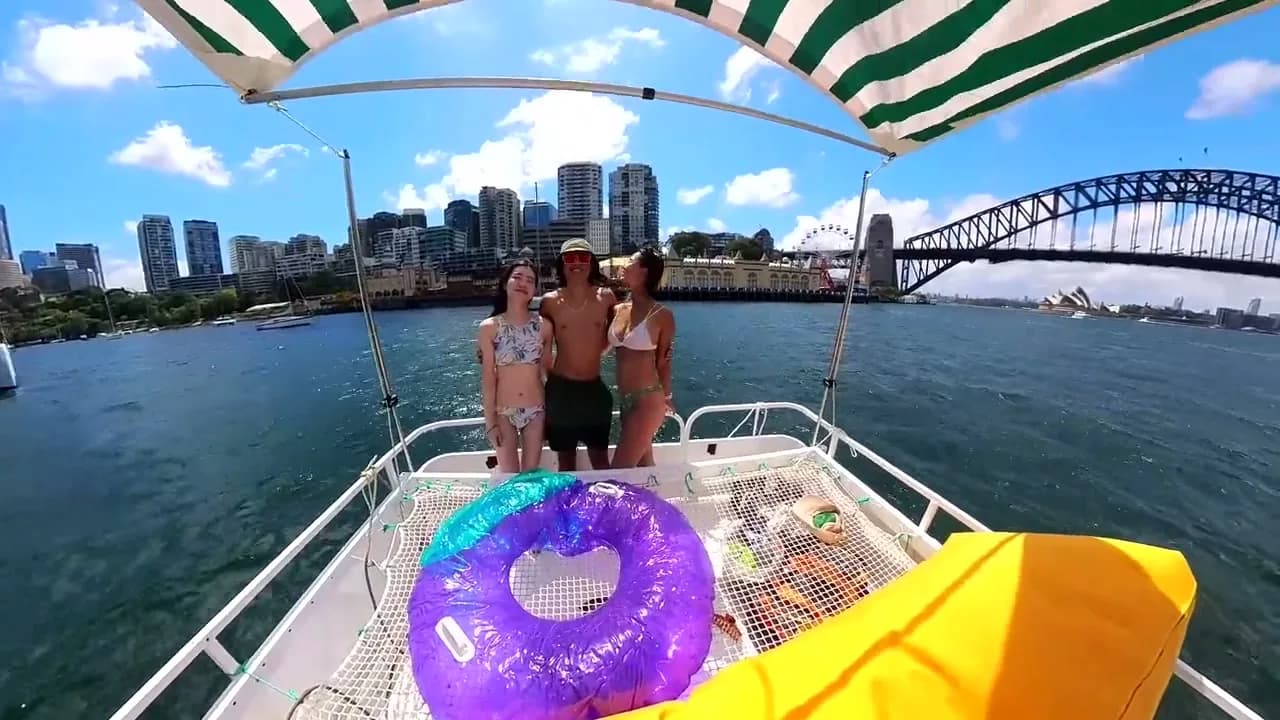
A group standing on Capri's bow with the Harbour Bridge and city behind

The hire area, on a map.

Turn the layers on to find a netted pool, a toilet you can tie up to, or somewhere to pick up lunch.

Speed limits and no-wash zones are still coming from the owner — the paper map you are handed at the induction has them today.

Schematic map of Sydney Harbour showing Capri's hire area and routes from LilyfieldCoastline of Sydney Harbour from Gladesville Bridge in the west to Bradleys Head and Point Piper in the east, with Capri's hire area dashed and three suggested routes from Lilyfield wharf: the icons (under the Harbour Bridge to the Opera House and Kirribilli), the slow loop (Cockatoo Island, Birkenhead Point and Drummoyne) and swim and sun (Dawn Fraser Baths, Balmain and Blues Point).Lilyfield wharfIron CoveBalmainCockatoo IslandGoat IslandHarbour BridgeOpera HouseKirribilliBradleys HeadPoint PiperGladesville BridgeDarling HarbourRozelle Bay
What the pins mean
  • Lilyfield wharf
  • Swim spots
  • Toilets
  • Supplies
  • Photo spots
  • Hire area
  • Speed limits & no-wash zones — coming from the owner

Pins are approximate, and the ones marked TBC are still being checked. The wharf itself is exact — find us at Le Montage wharf.

Three routes that fit three hours.

Pick one at the wharf or make it up as you go.

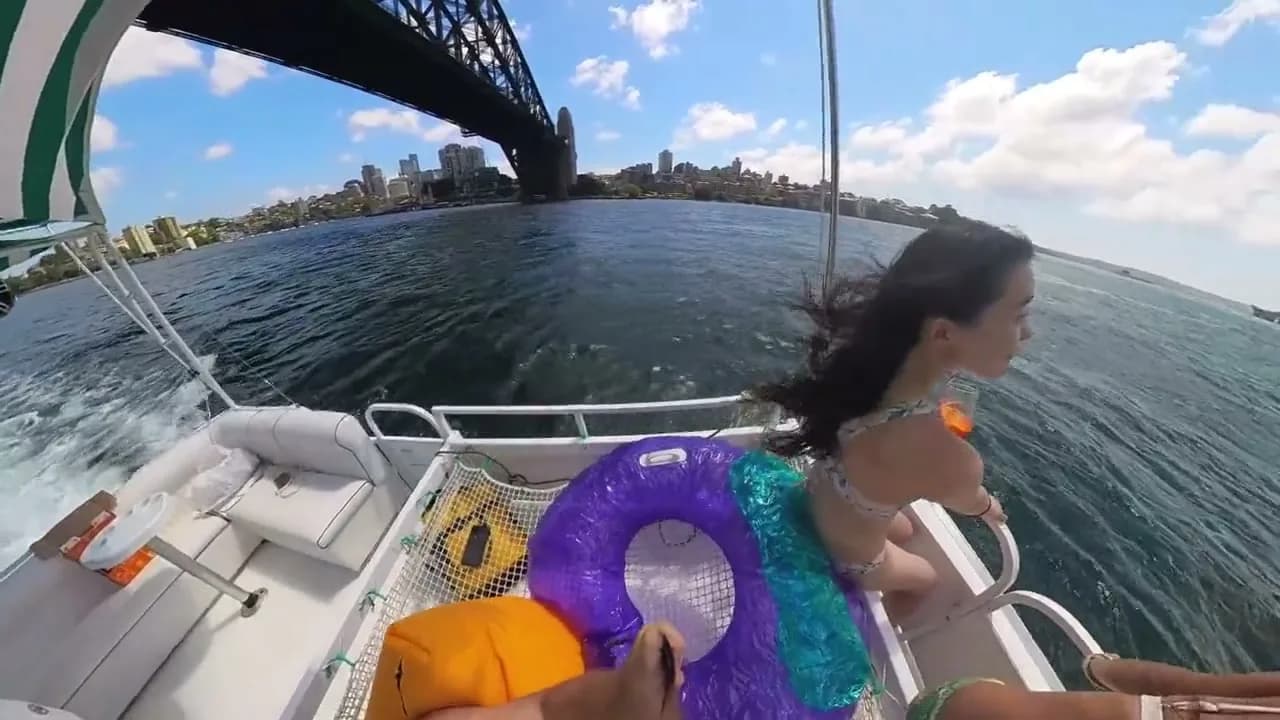
Passing under the Harbour Bridge on Capri

The icons

≈ 3 hours

Out of Iron Cove, past the Balmain wharves and around Goat Island, then under the Harbour Bridge with the music up. Swing past the Opera House for the photo from the water, turn at Kirribilli and come home with the city behind you. Circular Quay itself is outside the hire area.

First-timers who want the Bridge and the Opera House in the photos.
Route on the map

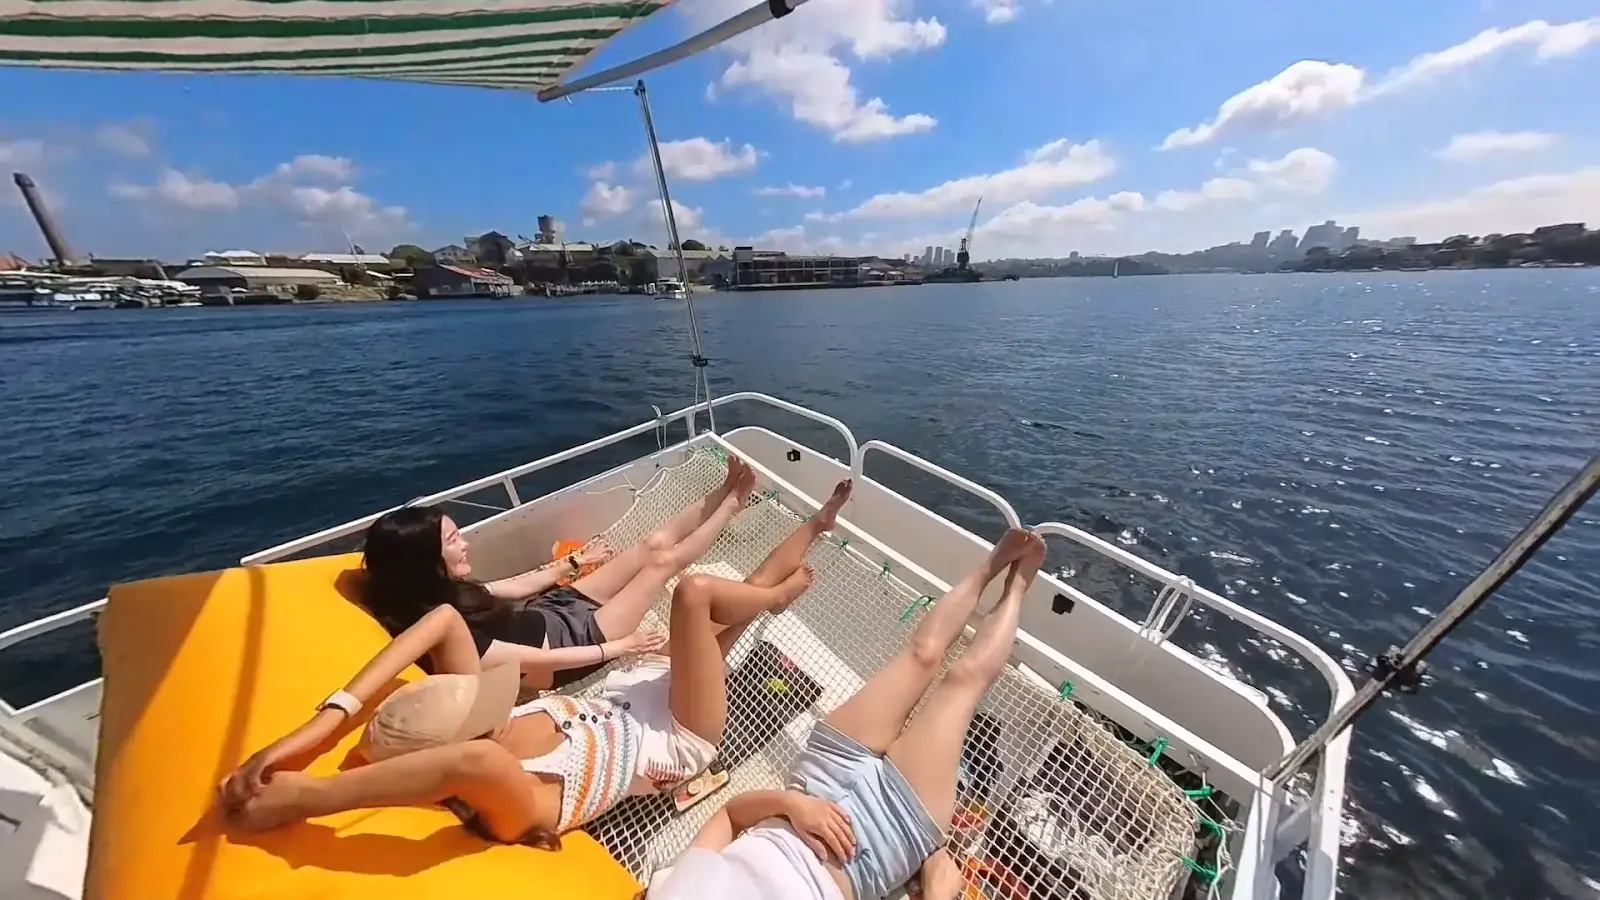
Two guests lying on the trampoline sunbed beside the yellow beanbag, Cockatoo Island's cranes behind

The slow loop

≈ 3 hours

The calmest water in the hire area. Out of Iron Cove to Cockatoo Island — tie up at the public wharf for toilets and a wander through the old shipyards — then across to Birkenhead Point for supplies or a coffee, and back along the Drummoyne shore. Two stops, no ferry wash to speak of.

Families, grandparents, anyone who wants calm water.

Route on the map

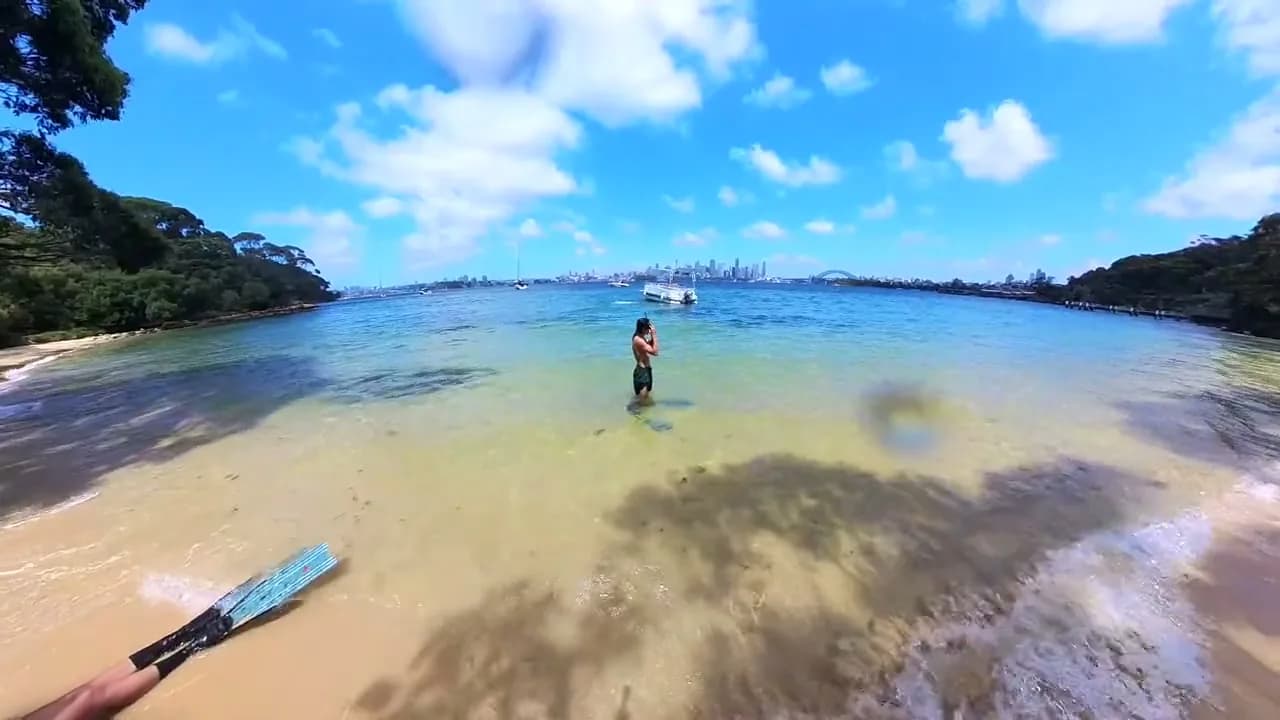
A harbour beach at a swim stop, a paddleboard on the sand

Swim & sun

3–4 hours

Pick a netted pool inside the hire area — Dawn Fraser Baths at Balmain is the closest to the wharf. Swim, then dry off on the trampoline with your feet over the water, and cruise on to Blues Point for the Bridge photo from the north side. Text us from the water for an extra hour: $100.

Hot days, date days, anyone who booked for the trampoline.

Route on the map

New to it? Read how self-drive boat hire in Sydney works, or go straight to the best swimming spots on Sydney Harbour by boat.

Rules of the water.

Six things that keep the day boring in the right way. We go through them again at your induction.

The longer version is in Sydney Harbour speed limits and no-wash zones, explained.

Wind decides the day.

We read the Rozelle Bay forecast at 7am on your morning.

Loading wind forecast

The thresholds and the refund terms are in our weather and cancellation policy.

What to bring.

Pack light. Most of what people carry down the ramp is already on the boat.

The full list is in what to bring for a boat day on Sydney Harbour.

Pick a day. We’ll text you the wharf pin.

Loading dates
Text us